Baurine's Blog
一个练习项目 -- Material Instagram
July 11, 2015完全是跟着下面的教程一步一步完成的。超级棒的教程。
中文翻译的第三章有部分内容缺失,所以尽量还是看原文。
虽然不是自己设计实现的,但还是非常有成就感。感谢作者及译者。
我从这篇教程中受益颇深,学习到了各种动画的制作,理解了动画的精髓 (通过位移,尺度,透明度等的变化及其组合来实现),高级控件的使用,自定义 View 的实现,以及良好的代码风格。
最终的实现效果正如 youtube 中演示的一样。细微部分有所差别。
在学习过程中,对这个项目做了一些修改和调整。
- 使用官方 Support Design 库的 FAB 替代作者自己的实现。原本也想用官方的 NavigationView 来实现 Drawer,但觉得作者用注入的思想也很不错,所以就没有修改。
- 增加了取消 like 的功能及其动画效果。解决作者项目中滑动 feeds 时 like 数自动加一的问题。
- 解决了部分按钮 (照相按钮及选择发布对象的按钮) 在 Meizu MX (我的测试机,Android 4.1.1,API 16) 上显示异常的问题。(在 MX 上,如果一个按钮 backgroud 是 layer-list,顶层的 item 缕空部分默认不是透明的,因此会覆盖掉底层的 item,必须手动声明为 transplant)。
- 部分用 LinearLayout 嵌套太深的布局,用 RelativeLayout 替代。微调了部分布局。
项目中用到的图片资源皆来自作者项目及花瓣网,如有侵权本人会马上删除。
截图
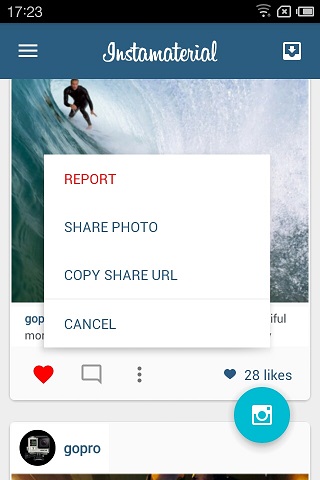
Feeds
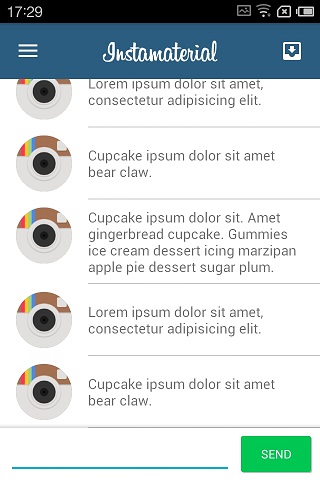
Comments
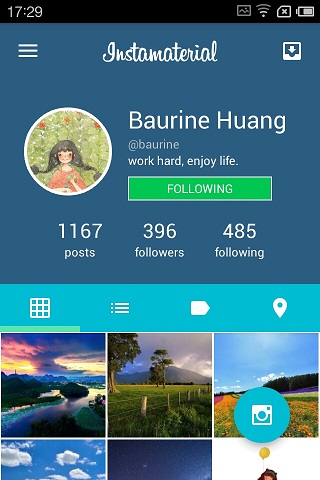
UserProfile
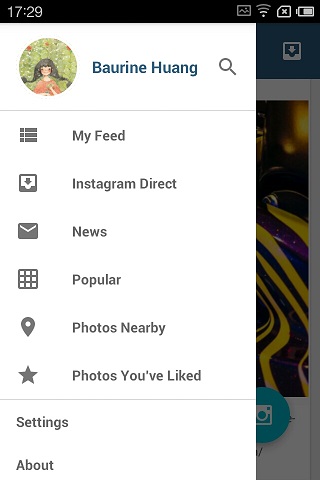
Drawer
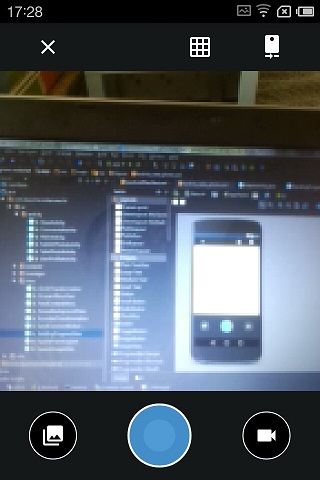
TakePhoto
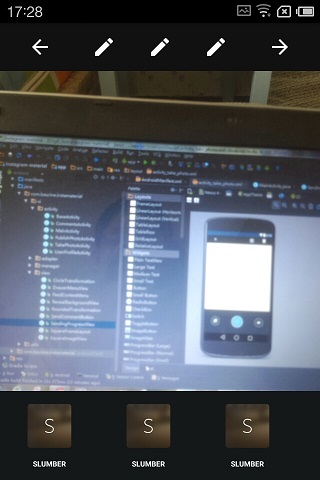
EditPhoto
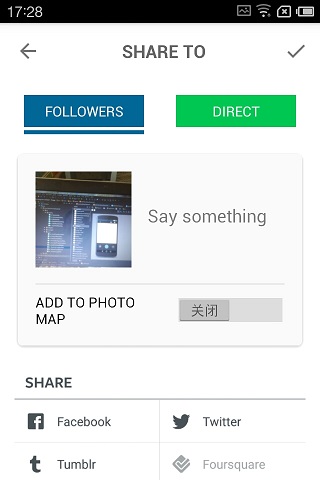
PublishPhoto
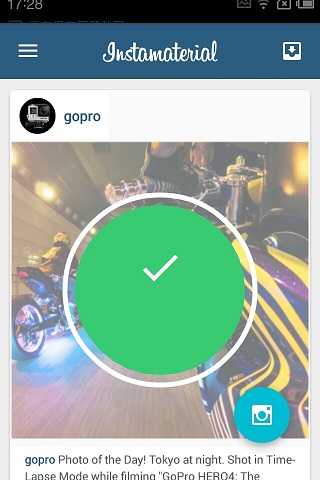
SendingPhoto
MX 上按钮异常的解决办法
拍照按钮异常 (正常的情况看上面的截图)
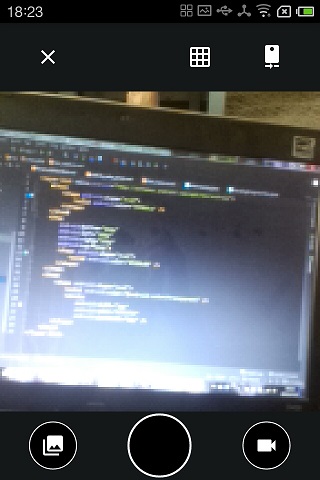
解决办法:
<layer-list xmlns:android="http://schemas.android.com/apk/res/android">
    <item>
        <shape android:shape="oval">
            <solid android:color="#458dca" />
        </shape>
    </item>
    <item
        android:bottom="16dp"
        android:left="16dp"
        android:right="16dp"
        android:top="16dp">
        <shape android:shape="oval">
            <solid android:color="#529bd8" />
        </shape>
    </item>
    <item>
        <shape android:shape="oval">
            <!--增加这一行代码,把缕空部分声明为透明-->
            <solid android:color="@android:color/transparent" />
            <stroke
                android:width="2dp"
                android:color="#ffffff"
                android:dashWidth="0dp" />
        </shape>
    </item>
</layer-list>
选择发布对象按钮异常 (正常的情况看上面的截图)
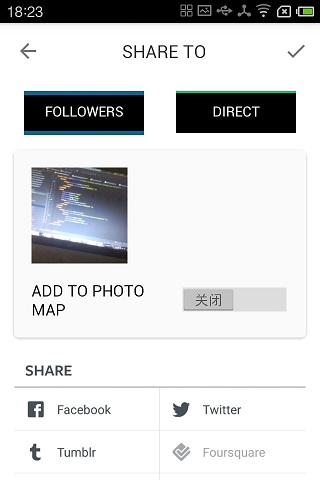
解决办法:我觉得作者的实现稍微复杂,作者是在底层绘制了一个 rectangle,然后在顶层用白色边框包围住底层的 rectangle。解决办法同上,需要把顶层缕空部分声明为 transparent,但我自己换了一种实现方法,先在底层绘制了纯色的 rectangle,然后在它下面绘制了一条相同颜色的 line。实现代码 (摘自 switch_publish_followers.xml):
<layer-list>
    <item android:bottom="8dp" android:top="8dp">
        <shape android:shape="rectangle">
            <solid android:color="#006699" />
        </shape>
    </item>
    <item android:left="-4dp" android:right="-4dp" android:top="42dp">
        <shape android:shape="line">
            <stroke android:width="4dp" android:color="#006699" />
        </shape>
    </item>
</layer-list>